Introduction
Amateur astronomy is a fascinating hobby that allows individuals to explore the wonders of the night sky. One of the most important tools for amateur astronomers is a telescope. However, using a telescope can be a bit daunting for beginners. In this article, we will provide a step-by-step guide on how to use a telescope for amateur astronomical observations.
Choosing the Right Telescope
The first step in using a telescope for amateur astronomy is selecting the right one. There are several types of telescopes available, including refractor, reflector, and compound telescopes. Each type has its own advantages and disadvantages, so it’s important to do some research and choose the one that best suits your needs and budget.
Consider factors such as aperture size, focal length, and mount type when making your decision. Aperture size determines how much light the telescope can gather, while focal length affects the magnification power. The mount type determines how the telescope moves and tracks celestial objects.
Setting Up the Telescope
Once you have chosen a telescope, it’s time to set it up for observation. Find a suitable location away from city lights, as light pollution can hinder your viewing experience. Set up the tripod or mount according to the manufacturer’s instructions, ensuring that it is stable and level.
Attach the telescope tube to the mount, making sure it is securely fastened. Align the finder scope with the main telescope tube, as this will help you locate objects in the sky. Calibrate the finder scope by focusing on a distant object during the daytime.
Understanding the Telescope Controls
Before you start observing, familiarize yourself with the controls of your telescope. Most telescopes have two main controls: the altitude (up and down) and azimuth (left and right) controls. These allow you to move the telescope in different directions to track celestial objects.
Practice using the controls during the daytime to get a feel for how they work. This will make it easier to navigate the night sky when you’re ready to observe.
Observing the Night Sky
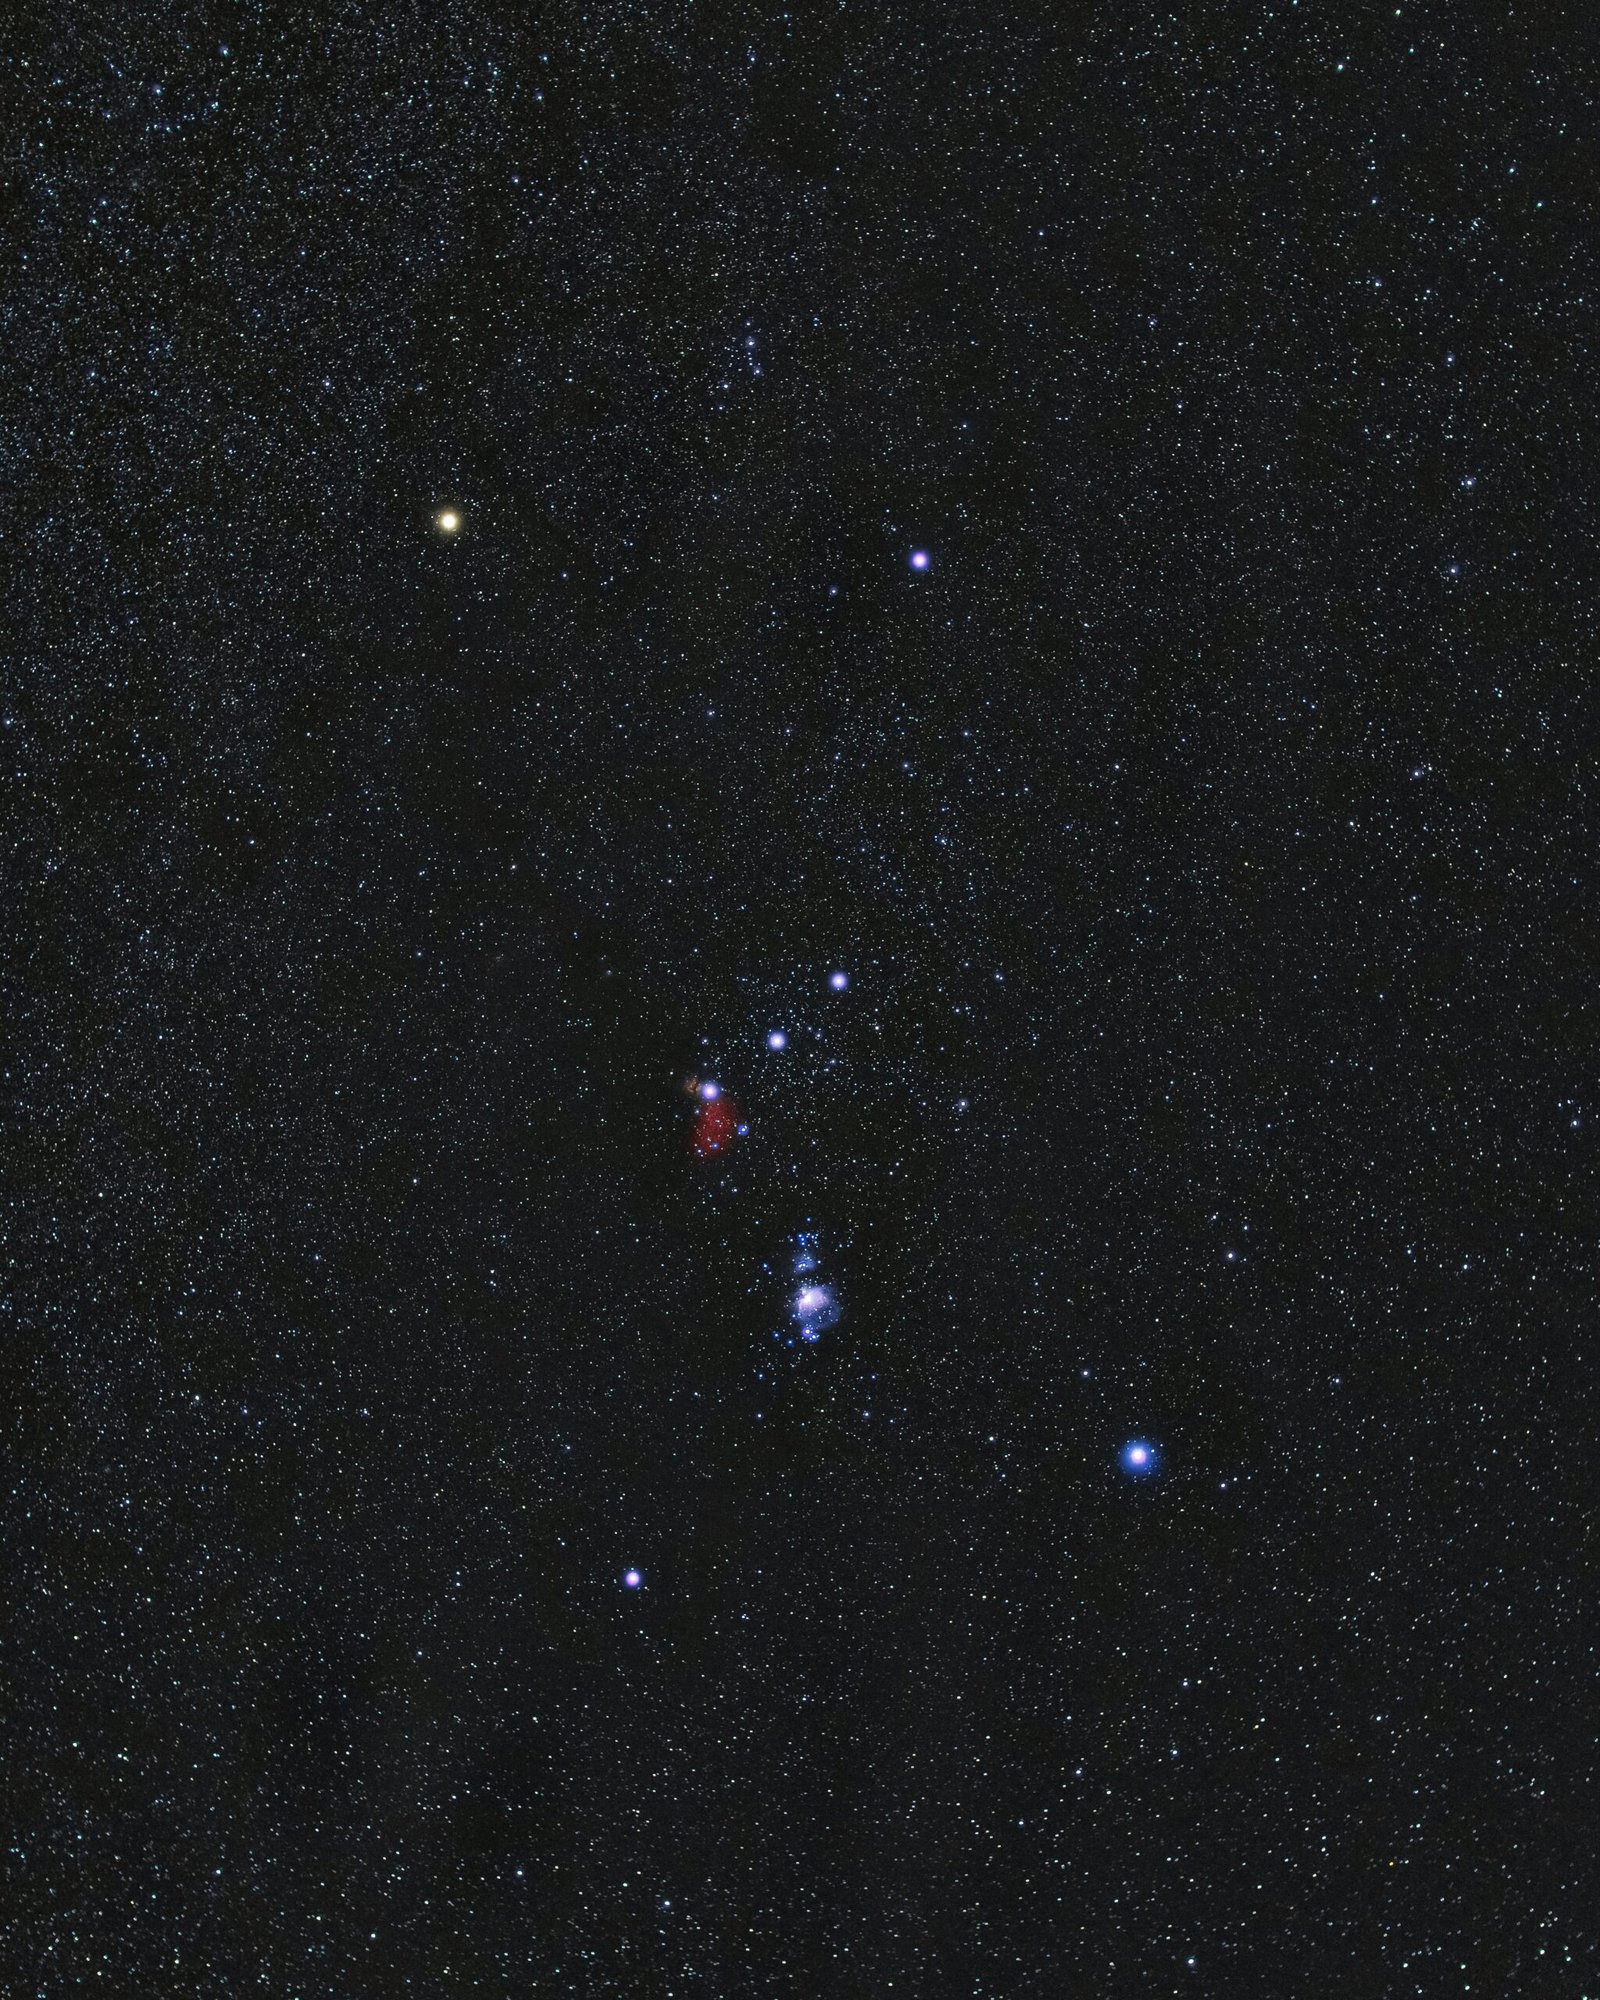
Now that you’re familiar with your telescope and its controls, it’s time to start observing the night sky. Begin by identifying bright stars or prominent constellations to get your bearings. Use a star chart or a smartphone app to help you locate objects of interest.
Start with easy-to-find objects such as the Moon or bright planets like Jupiter or Saturn. Once you’re comfortable with locating these objects, you can move on to more challenging targets such as star clusters, nebulae, and galaxies.
Tips for Successful Observations
Here are some additional tips to enhance your amateur astronomical observations:
- Allow your eyes to adjust to the darkness for at least 20 minutes before observing.
- Use low magnification eyepieces for wide-field views and high magnification eyepieces for detailed observations.
- Keep a logbook to record your observations, including the date, time, and object observed.
- Join a local astronomy club or online community to connect with other amateur astronomers and learn from their experiences.
- Experiment with different filters to enhance your views of specific celestial objects.
Conclusion
Using a telescope for amateur astronomical observations can be a rewarding and educational experience. By following the steps outlined in this guide and practicing regularly, you can develop your skills and explore the wonders of the night sky. Remember, patience and persistence are key, so don’t get discouraged if you don’t see everything right away. Enjoy the journey and happy stargazing!


