With the increasing popularity of renewable energy sources, more and more homeowners are considering installing solar panel systems to power their homes. Not only does solar energy help reduce reliance on fossil fuels, but it also offers significant long-term cost savings. If you’re interested in designing and installing a solar panel system for residential use, this guide will walk you through the process.
Step 1: Assess Your Energy Needs
The first step in designing a solar panel system is to assess your energy needs. Start by examining your electricity bills to determine your average monthly usage. This information will help you determine the size of the system you’ll need to meet your energy demands.
Step 2: Evaluate Your Roof
The next step is to evaluate your roof’s suitability for solar panel installation. Check for any shading issues caused by nearby trees or buildings that could affect the efficiency of your system. Additionally, assess the condition of your roof to ensure it can support the weight of the solar panels.
Step 3: Choose the Right Solar Panels
When selecting solar panels for your residential system, consider factors such as efficiency, durability, and warranty. Monocrystalline, polycrystalline, and thin-film solar panels are some of the options available. Research different manufacturers and consult with solar panel experts to choose the best panels for your specific needs.
Step 4: Determine the Inverter Type
The inverter is a crucial component of a solar panel system as it converts the direct current (DC) generated by the panels into alternating current (AC) for use in your home. There are three main types of inverters: string inverters, microinverters, and power optimizers. Each has its advantages and disadvantages, so it’s important to choose the right one for your system.
Step 5: Plan the System Layout
Once you have chosen the solar panels and inverter, it’s time to plan the layout of your system. Consider factors such as available roof space, panel orientation, and tilt angle to maximize the system’s efficiency. Consult with a professional installer or use online design tools to create an optimal layout.
Step 6: Obtain Permits and Approvals
Before installing your solar panel system, you’ll need to obtain the necessary permits and approvals from your local authorities. This ensures compliance with building codes and safety regulations. Check with your city or county’s building department to understand the requirements and procedures for obtaining permits.
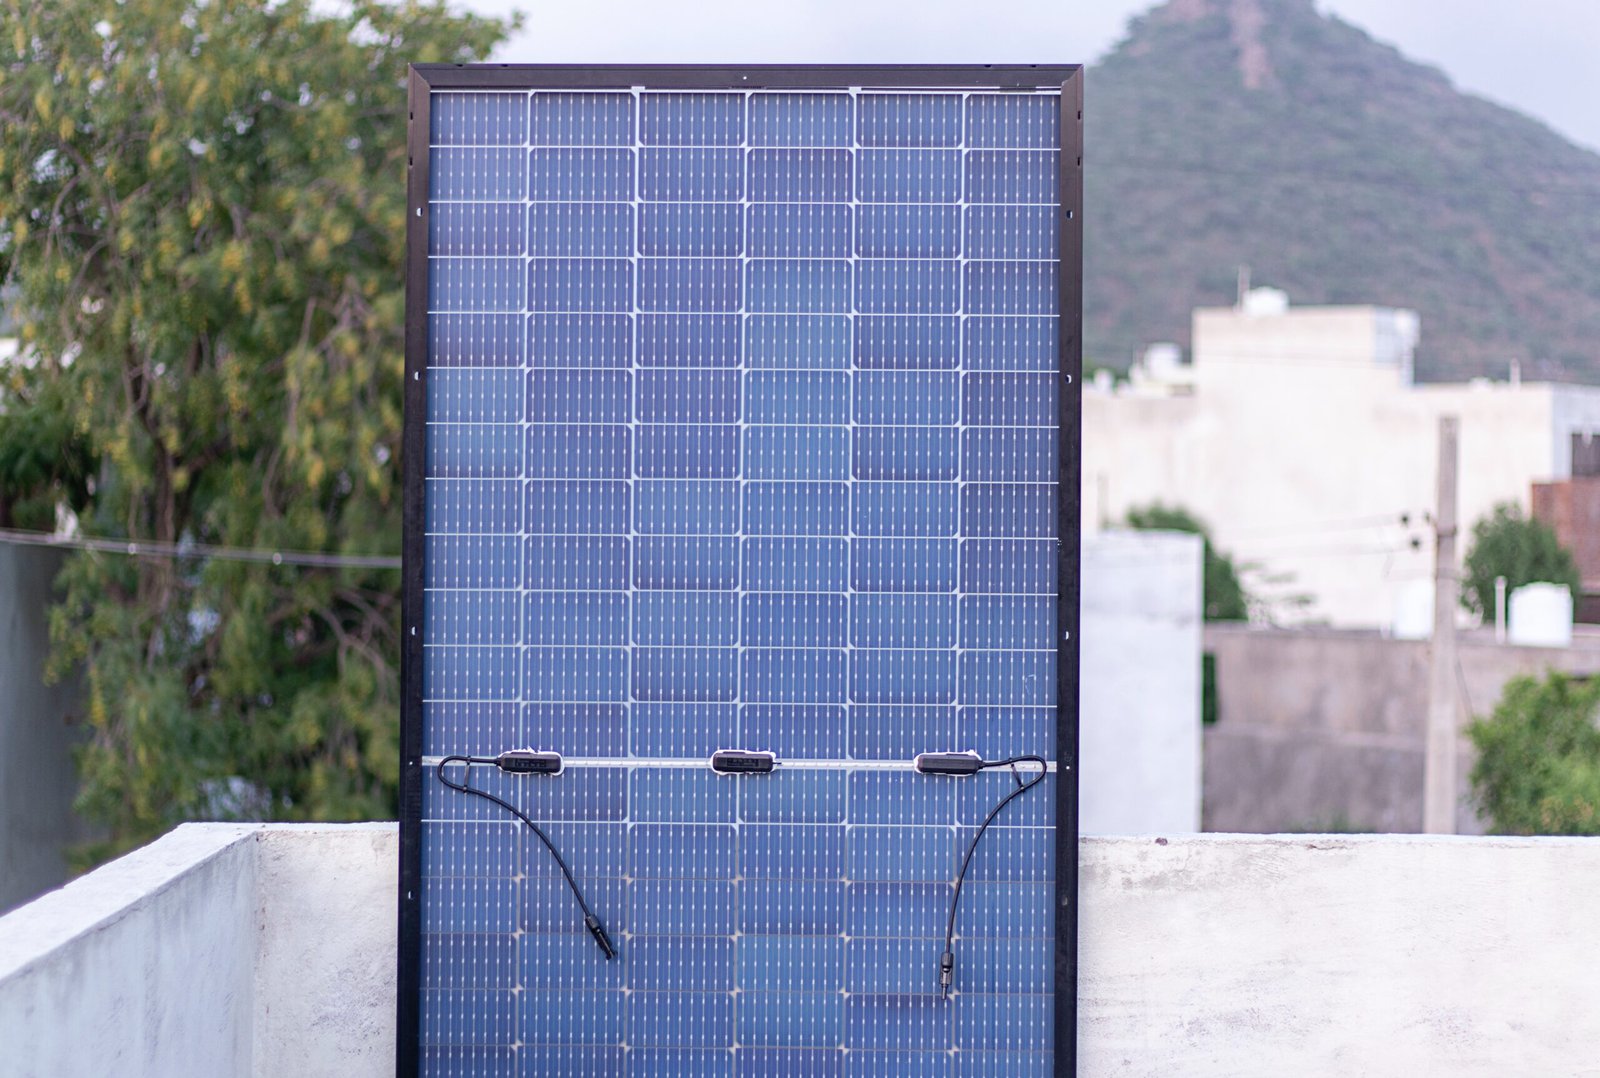
Step 7: Install the Solar Panels
Now it’s time to install the solar panels. If you have experience with electrical work and are comfortable working on your roof, you may choose to install the system yourself. However, it’s strongly recommended to hire a professional installer to ensure the system is installed safely and efficiently.
Step 8: Connect the System to the Grid
After the solar panels are installed, the next step is to connect the system to the electrical grid. This involves installing a bi-directional meter that measures the energy produced by your system and any excess energy fed back into the grid. Your utility company will guide you through the process of interconnecting your system.
Step 9: Monitor and Maintain the System
Once your solar panel system is up and running, it’s important to regularly monitor and maintain it. Keep an eye on the system’s performance and check for any signs of damage or malfunction. Clean the panels periodically to ensure optimal efficiency and consider scheduling professional maintenance checks to identify and address any issues.
Step 10: Enjoy the Benefits of Solar Energy
Congratulations! You have successfully designed and installed a solar panel system for residential use. Now you can start enjoying the benefits of solar energy, including reduced electricity bills, lower carbon footprint, and increased energy independence.
Remember, designing and installing a solar panel system requires careful planning and consideration. If you’re unsure about any aspect of the process, consult with professionals who can guide you through the steps and ensure a successful installation.
By harnessing the power of the sun, you’re not only making a positive impact on the environment but also taking a step towards a more sustainable future.